How to Install VirtualBox on Ubuntu 24.04
VirtualBox is a software program that lets you run multiple operating systems on a single computer. It’s a type of software called a hosted hypervisor. It allows us to create Virtual Machines (VMs). Each VM is a separate computer with its operating system but with shared resources from our Physical system. Depending on Computer / Laptop resources multiple VMs can be created with different Operating Systems for each on the same machine.
Why Use a Virtual Machine?
From running multiple operating systems to allocating resources and testing complex network setups, virtual machines give you an isolated sandbox on your local computer. They are commonly used by:
- IT professionals for testing, staging, and software validation.
- Developers to create clean, isolated environments without polluting their host system.
- Students and educators to experiment with different Linux distributions safely.
If you need an isolated environment on your Ubuntu 24.04 workstation, VirtualBox is one of the most reliable free options available. Let’s get it installed.
There are initial system requirements and a few steps to install VirtualBox on Ubuntu 24.04.
Prerequisites
- A laptop/computer running on Ubuntu must be 64-bit
- Access to root user
- A terminal
- Minimum 2 GB of RAM, recommended 4GB or more
- Enough free disk space to accommodate the software itself. and VMs. 40 to 60 GB
- A 64-bit processor with virtualization technology enabled, dual or higher is better.
- Better internet connection
Before I begin, I need to install a few peer dependencies and update our system.
Update the System Packages
Update your system using the following command:
sudo apt update && sudo apt upgrade -y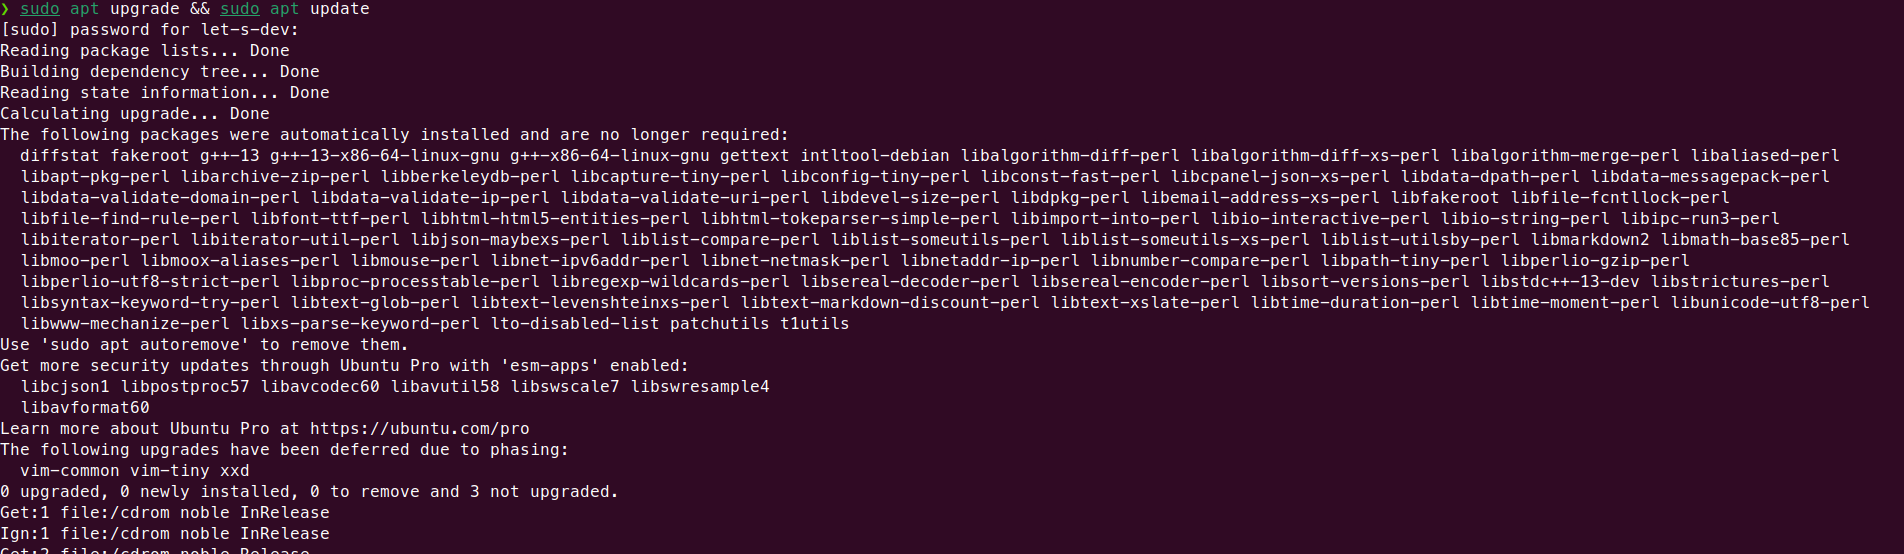
Installing Peer Dependencies
sudo apt install gcc make libx11-dev libxext-dev libqt5gui5 libqt5dbus5 libqt5network5 libssl-dev liblzf1 libqt5help5 libqt5opengl5t64 libqt5printsupport5t64 libqt5sql5-sqlite libqt5sql5t64 libqt5xml5t64 libtpms0
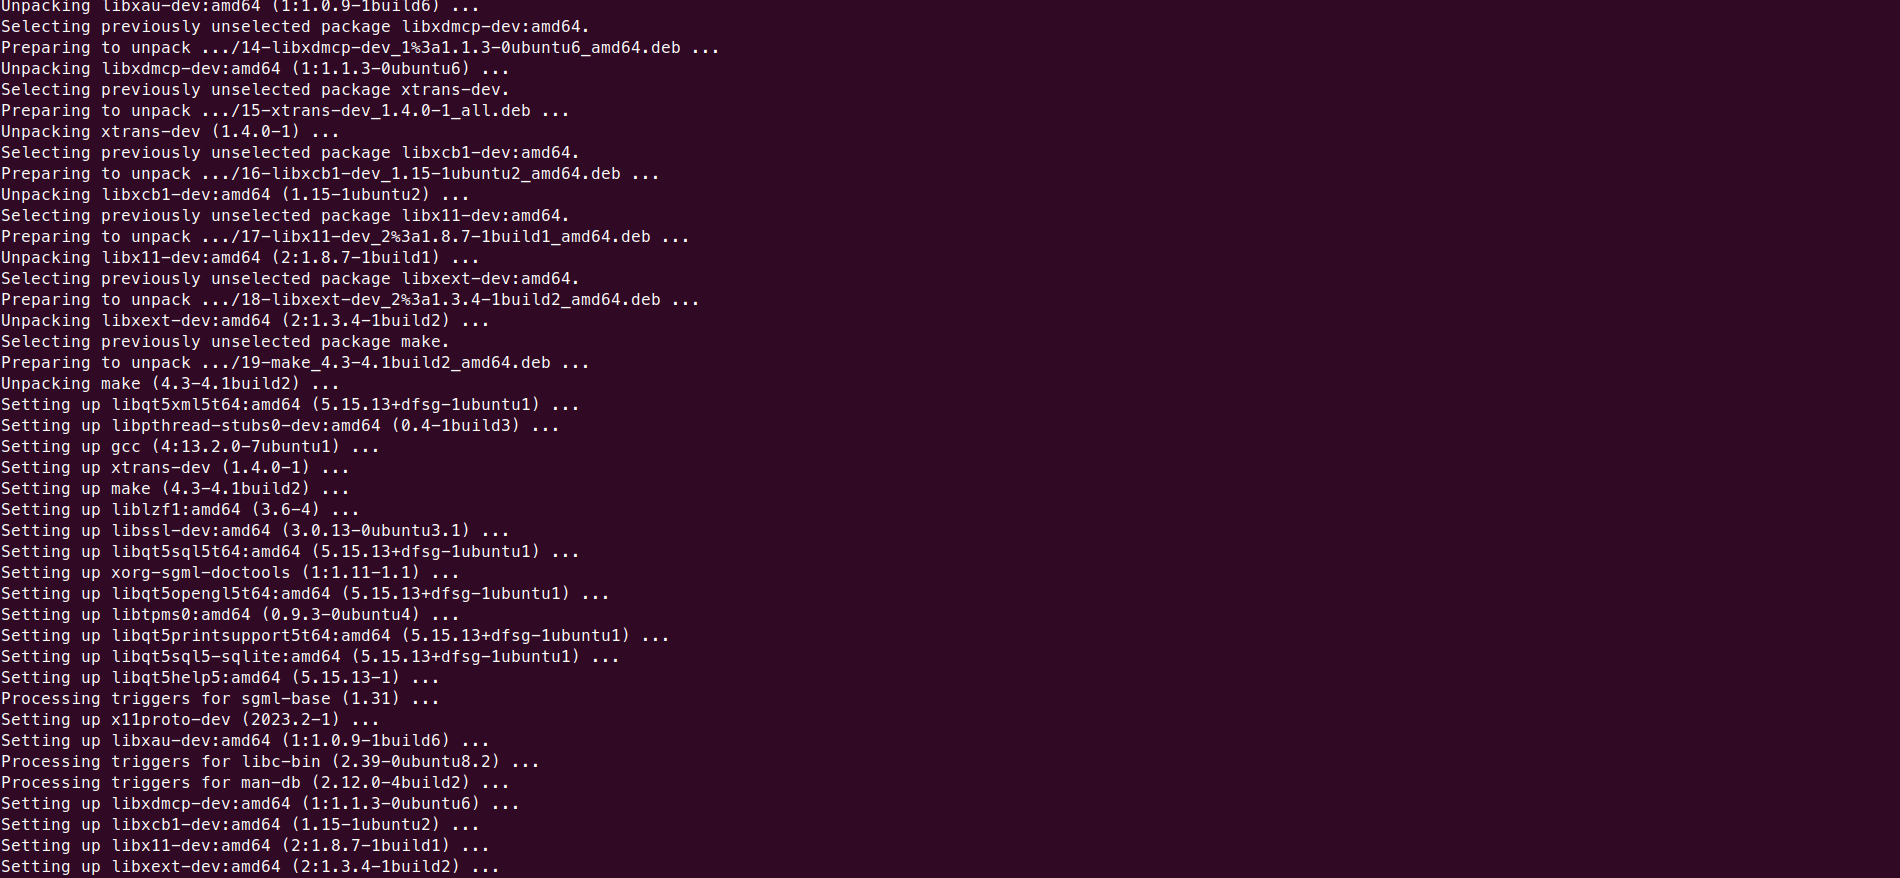
Okay, alright. It’s time to move forward to our actual installation.
Installing VirtualBox
Okay, so the initial step is downloading VirtualBox from their official website. Use direct link.

Step 1: Open the Terminal
Open the terminal using Ctrl + Alt + T.
Update package lists after adding the peer dependencies:
sudo apt updateChange to your Downloads directory:
cd Downloads

ls -lta
Step 2: Installing
After locating the deb file, now install it. Use the following command to install it.
sudo: full root access
dpkg -i: to extract and install the binaries into the system
location/path: Location or path of the .deb file
After summing up, the command should be following
sudo dpkg -i virtualbox-7.0_7.0.18-162988\~Ubuntu\~noble_amd64.deb
Hit enter and see the magic. And boom!!!.
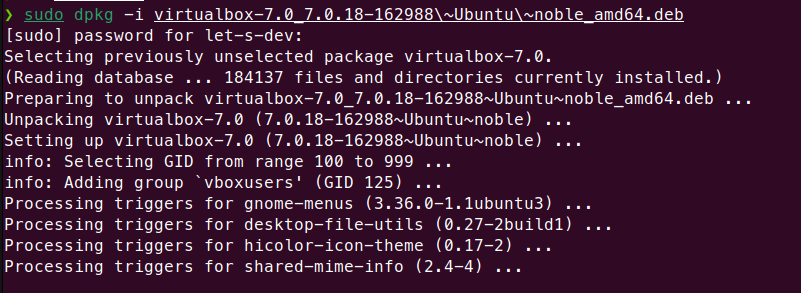
Step 3: Open VirtualBox and Enjoy
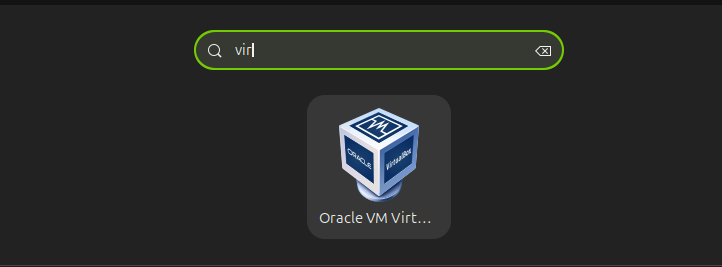
That covers the full installation of Oracle VM VirtualBox on Ubuntu 24.04. If you hit any errors during the dpkg step, ensure that all peer dependencies were installed properly or run sudo apt --fix-broken install to resolve missing libraries.
I ran into a few snags with missing packages during my initial setup and had to clean them up before getting it to run smoothly. Following these steps will save you that trial and error.
